Introduction
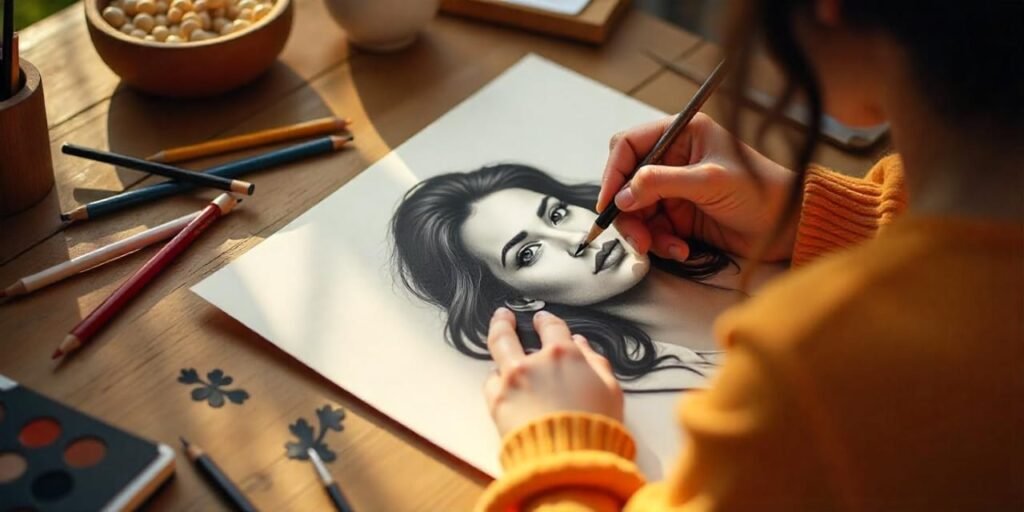
Drawing faces is a basic skill for every artist, whether you are a beginner at drawing or a seasoned sketcher. Knowing facial proportions, symmetry, and shading will enable you to draw realistic faces regardless of what the outcome is. In this tutorial, we will guide you through drawing a face step by step, and beginners will be able to keep up.
Before we begin, get your materials together:
✅ Pencils: HB for sketching, 2B–6B for shading.
✅ Eraser: Kneaded eraser is best utilized in correcting minor mistakes.
✅ Paper: Smooth drawing paper to offer crisp lines.
✅ Blending tools: Blending with blending stumps or cotton swabs.
Now we begin by sketching our faces!
Step 1: Facial Proportion Understanding
The initial step in drawing a realistic face is to learn the basic proportions. The human face is founded upon a system of proportional controls:
???? Rule of thirds: Split the face into three equal sections – forehead, nose, and chin.
???? Symmetry: The face is nearly symmetrical, so make things even as you draw.
???? Alignment: Eyes are half-way down the face, nose in the center of the lower half, and mouth below the nose.
Use these guidelines as a blueprint before adding details.
Step 2: Drawing the Overall Face Structure
Draw an Oval: Gently draw an oval for the head. Don’t worry, it doesn’t have to be precise!
Mark the Centerline: Draw the centerline vertically down the middle to make it symmetrical.
Add a Horizontal Guideline: That’s where the eyes will go (halfway down the head).
It is the basis of the facial landmarks.
Step 3: Mapping the Feature Guidelines
Now, let’s decide where the eyes, nose, and mouth will be located:
✅ Divide the lower half of the face into two even halves. The lower half of the face is where the mouth is halfway down, and it’s where the nose ends.
✅ Divide the width of the face into five segments to help you place the eyes in the correct position.
These guidelines make sure everything stays proportionate!
Step 4: Drawing the Eyes
Trace two almond-shaped ovals where guidelines for eyes intersect.
Add the pupils and irises in each eye, in symmetrical alignment.
Define the eyelids and eyelashes for realism.
Color in the pupil and iris to create depth.
???? Tip: Don’t exaggerate the eyes. Don’t make them too big or too little. Study real eyes to achieve the right proportions.
Step 5: Drawing the Nose
The nose is tricky but can be broken down:
Draw a triangle shape where the nose would be.
Mark the nostrils at the bottom and very lightly draw the bridge.
Softly blur the edges to prevent harsh lines.
???? Tip: Soft shading instead of hard lines will give a more realistic effect.
Step 6: Drawing the Mouth & Lips
Draw a line across horizontally where the mouth will be.
Draw a wavy line for the top lip and bottom lip.
Add light shading to define the lips’ shape.
???? Tip: Don’t overdefine lips—natural lips are smooth into the face!
Step 7: Shaping the Face & Adding Ears
Then shape the jaw and the cheeks to conform to the perfect face shape:
✅ Soft jawline: A rounded contour for a young appearance.
✅ Sharp jawline: Tapered for a more chiseled face.
✅ Ears: Positioned from the eye line to the bottom of the nose.
Step 8: Drawing the Eyebrows
Eyebrows give character to the face!
Follow the natural curve above the eyes.
Use small strokes to replicate hair texture.
Adjust thickness to achieve the desired expression.
???? Tip: Arched brows create a dramatic appearance, and straight brows create a softer appearance.
Step 9: Drawing the Hair
The hair lends the portrait personality.
Explain the overall shape of the haircut.
Use curved lines to represent strands.
Add depth by shading in layers.
???? Tip: Don’t color each strand—focus on shading for a more realistic appearance.
Step 10: Final Details & Shading
Shading is critical for realism:
✅ Source of light: Position where light is falling on the face.
✅ Mix well: Mix with a blending stump or cotton swab.
✅ Shadow areas of significance: Shadows under the nose, chin, and eyelids provide depth.
Tip: Emphasize the tip of the nose, cheekbones, and forehead in order to gain a 3D effect.
*Common Mistakes to Avoid
Overemphasizing features (e.g., enlarging eyes too much).
Forgetting proportions (misplacing facial features).
Using hard lines instead of soft shading.
Skipping symmetry (one eye above the other).
Always step back and evaluate your drawing for balance!
Pro Tips for Enhancing Your Face Drawing Skills
✨ Practice daily – sketch different face angles.
✨ Reference images – observe actual faces.
✨ Experiment with different methods of shading – cross-hatching, blending, etc.
✨ Practice making different facial expressions – smile, frown, surprise, etc.
The more you practice, the more well done your portraits will be!
Conclusion
It seems intimidating to draw a face, but with these step-by-step methods, you’ll be an expert in no time! Begin with basic guidelines, detail the features, and introduce shading to add a touch of realism. The more you practice, the more beautiful portraits you’ll draw without any efforts!. ???? Time to improve? Grab your pencil and start drawing now!
FAQs
1. What’s the best pencils to draw face?
HB pencils for the lines and 2B-6B for shading.
2. How can I make my face drawing more realistic?
Highlight proportion, shading, and soft blending.
3. How do I draw facial features most easily in a symmetrical way?
Use guidelines and mirror technique to check proportions.
4. How do I improve my shading?
Observe light source and employ layer shadings.
5. How long will it take until I am proficient at drawing faces?
With daily practice, you are able to observe the improvement within weeks to months!